PHOTOGRAPHY III/IV
“Which of my photographs is my favorite? The one I’m going to take tomorrow.”
— Imogen Cunningham
— Imogen Cunningham
PROJECT #1 - Principles of Composition Review
|
What is due? 7 photographs displaying the following principles of composition.
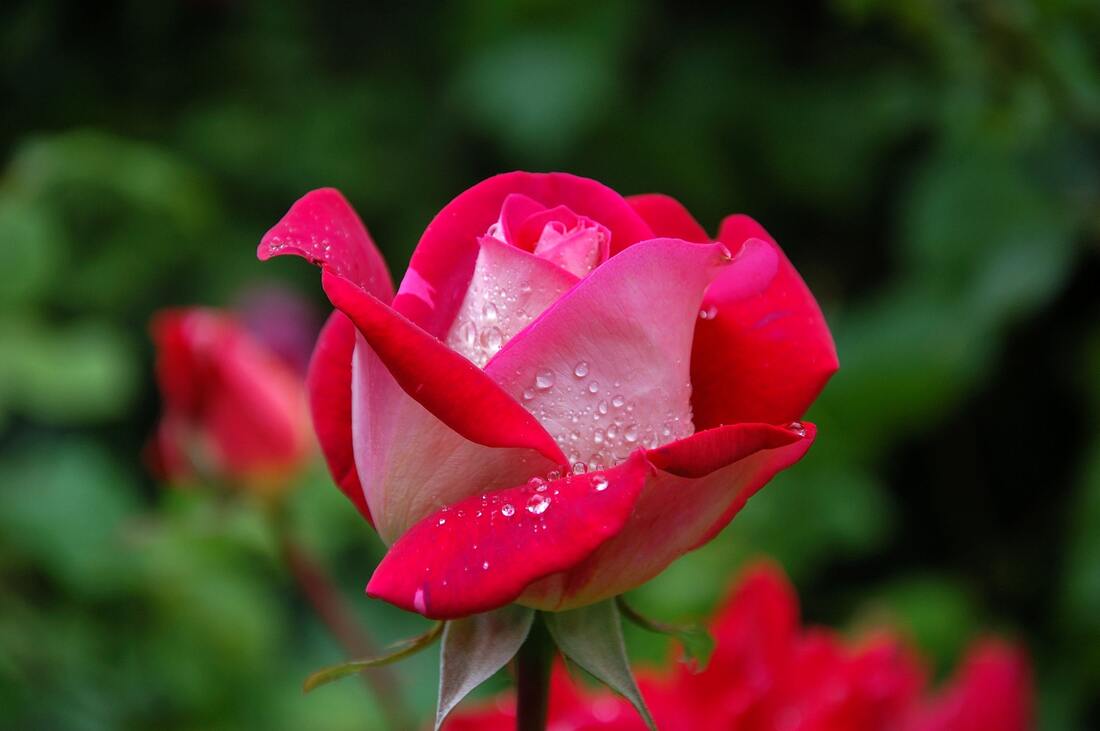
Objectives? Review the principles of composition and create a resource to be helpful when you're out on a photo shoot. Create a series of images illustrating the Principles of Composition listed below. This project is intended to be a quick review, and get you back to seeing the word through your viewfinder. Even though you will only turn in one of each, take multiple images for practice and options. Principles of Composition:
|


|
PROJECT #2 - Light, Lines, & Shadows
What is Due: 10 Photos.
Objective: Explore the characteristics of light while showing lines and shadows.
The purpose of this assignment is to help you see the a characteristic of light (contrast - hard and soft), while taking abstract photos of paper to create interesting lines and shadows. Experiment with different placement of the light, the contrast of light, and placement of paper to create interesting abstract photos of lines.
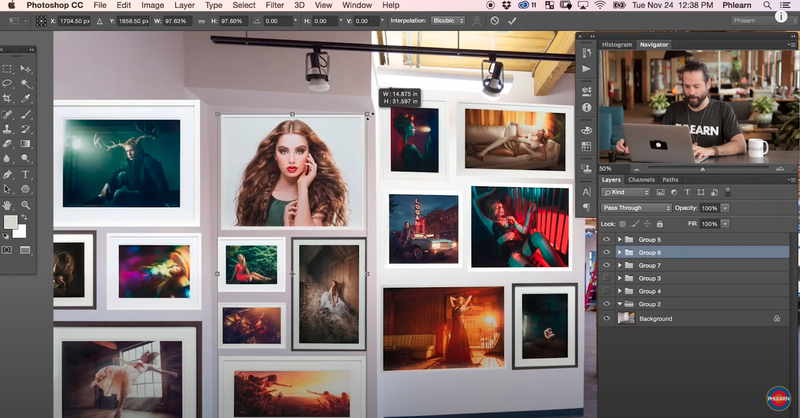
PROJECT #3 - Collaborative Mural Project
Objective: Collaborate with 2D Art class on Mural Project. Student will take original and found images, and learn to place artwork on surfaces using Photoshop techniques.
Details:
Details:
- Meet with partner from art. See attached PDF for pairings.
- Take photos on campus of walls which could be used for murals.
- Create a catalog of images from both original and Pexels.com
- Complete tutorials
- Work with partner and original artwork.
Tutorials
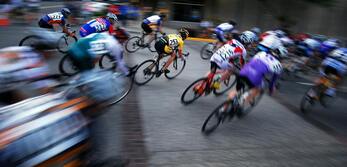
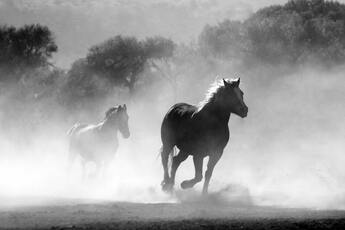
PROJECT #4 (Part 1) - Shutter Speed Practice
|
Objective - Understand how shutter speed effects motion in an image.
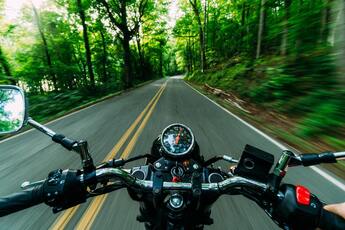
What is Due - 9 photos using the shutter speeds listed below. All photos will be shot in shutter priority mode (TV). You control the shutter speed in shutter priority mode while the camera controls the other settings to get a correct exposure. Make sure ISO is set to Auto. You will also practice controlling focal points, focus locking, and using a tripod. Students may find it easiest to work in pairs for this assignment. Each student will take 1 photo for each shutter speed listed below. As the shutter speeds get slower, you will see more blur in your images. You will want to you a tripod with certain shutter speeds. In addition, practice different techniques like panning and follow focus. Set the focal point to the center and focus on the subject while it is holding still. When the camera beeps, it is focused. Keep holding the shutter release button down halfway to let the subject start the movement. Take the photo to capture the motion (blurred or frozen). Also practice taking good photos by using principles of composition and be aware of what’s in the background of your photo. 1 Photo at the following shutter speeds.
|
|
PROJECT #4 (Part 2) - Shutter Speed Creativity
What is due:
This will help you think of how you can use shutter speed to create unique effects in your photographs. You will most likely need a partner and a tripod for this project. Use Shutter Priority Mode (TV) and Auto ISO so that you can focus on setting your shutter speed. Consider lighting, composition, background, etc.
- 6 photos.
- 3 photos with a long shutter speed
- 3 photos using a fast shutter speed.
This will help you think of how you can use shutter speed to create unique effects in your photographs. You will most likely need a partner and a tripod for this project. Use Shutter Priority Mode (TV) and Auto ISO so that you can focus on setting your shutter speed. Consider lighting, composition, background, etc.
PROJECT #5 (Part 1) - Aperture Practice
|
What is Due: 14 photos all of one subject shot at the apertures listed below. 7 of the photos will be from one distance and 7 from the second distance.
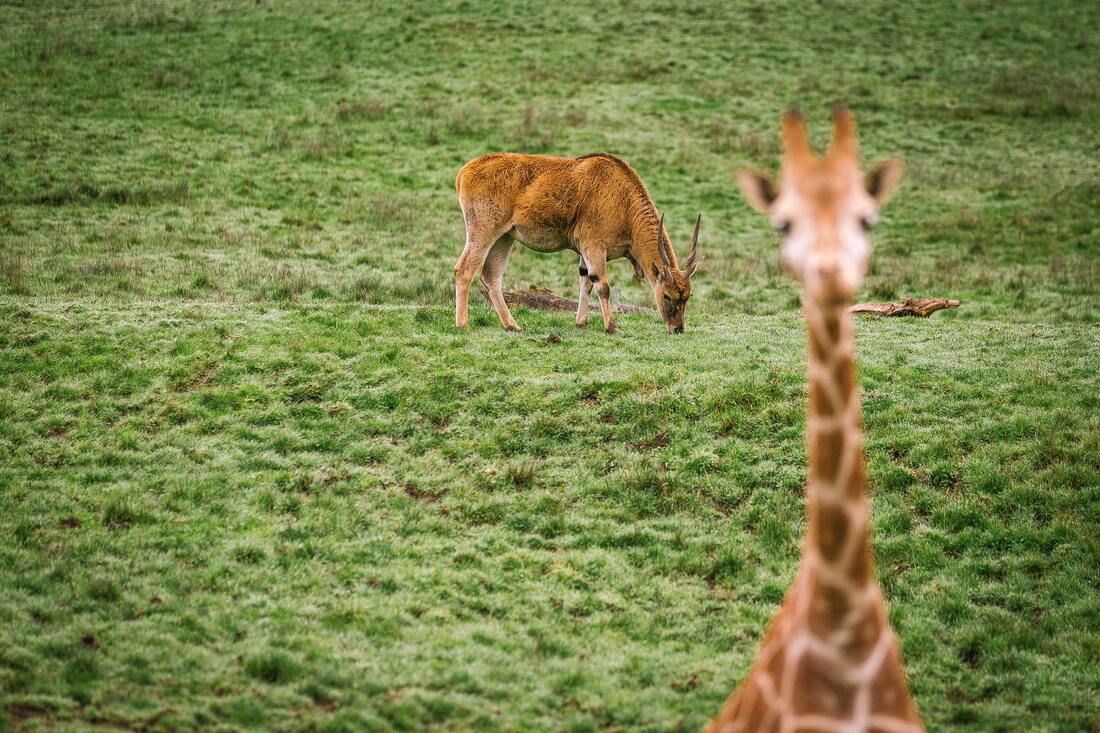
Objective: Develop an understanding of how aperture and distance affect depth of field. All photos should to be shot in Aperture Priority Mode (AV ). You will adjust the aperture (f/stops). Set the ISO to 200. If you have the kit zoom lens, set the focal length to 18mm so you can use the apertures listed below. Students will work in pairs for this assignment. Each pair needs a subject that won't move, a tripod, and camera. Set up the subject and camera so that they are on the same level. Make sure that there is at least 20 feet between the subject and the background. For the first set of 6 photos, place the camera about 2 feet away from the subject and focus on the subject. Take a photo at each listed aperture. For the second set of 6 photos, place the camera about 10 feet away from the subject and focus on the subject. Take a photo at each listed aperture. Photos need to be taken at the following apertures: f/2.8 f/4 f/5.6 f/8 f/11 f/16 f/22 |

|
PROJECT #5 (Part 2) - Aperture Creativity
What is due: 4 Photos.
Objective: Develop an understanding of the benefits of a fixed lens.
Take 4 photos where you use the wide aperture of a fixed lens to create shallow depth of field photos. Use different distances to your subject to see how the depth of field will change, and use different principles of composition.
Objective: Develop an understanding of the benefits of a fixed lens.
Take 4 photos where you use the wide aperture of a fixed lens to create shallow depth of field photos. Use different distances to your subject to see how the depth of field will change, and use different principles of composition.
PROJECT #6 - JR Project
What is due: 5 edited portraits. 1 Final portrait with write up
Objective: Learn about portrait photography, lighting, posing and connection with your subjects
Objective: Learn about portrait photography, lighting, posing and connection with your subjects
PROJECT #7 - Magazine Cover
What is due: 3 Magazine Covers.
Objective: Learn about typography and design in combination with a photo.
Create two magazine covers using one of the following formats:
Magazine cover requirements:
Objective: Learn about typography and design in combination with a photo.
Create two magazine covers using one of the following formats:
- People/Fashion
- Travel
- Architecture
Magazine cover requirements:
- Magazine title
- Original Images
- Main story
- 3-5 Sub Stories
- Use of shapes or graphics
|
|
|
|
PROJECT #8 - Alternative Magazine Cover (Raygun Magazine)
What is due: 2 Magazine Covers inspired by Rayon Magazine covers
Objective: Learn about alternative typography and design in combination with a photo.
Create two magazine covers influenced by the classic music magazine "Raygun." Raygun was famous for breaking design rules and creating provocative, highly designed magazines.
Magazine cover requirements:
Objective: Learn about alternative typography and design in combination with a photo.
Create two magazine covers influenced by the classic music magazine "Raygun." Raygun was famous for breaking design rules and creating provocative, highly designed magazines.
Magazine cover requirements:
- Magazine title (masked to go behind the person's head)
- Portrait
- 2-4 sub stories
- At least 2 shapes or graphic
PROJECT #9 - Artist Inspired Series
PROJECT #10 - Person/Place/Thing
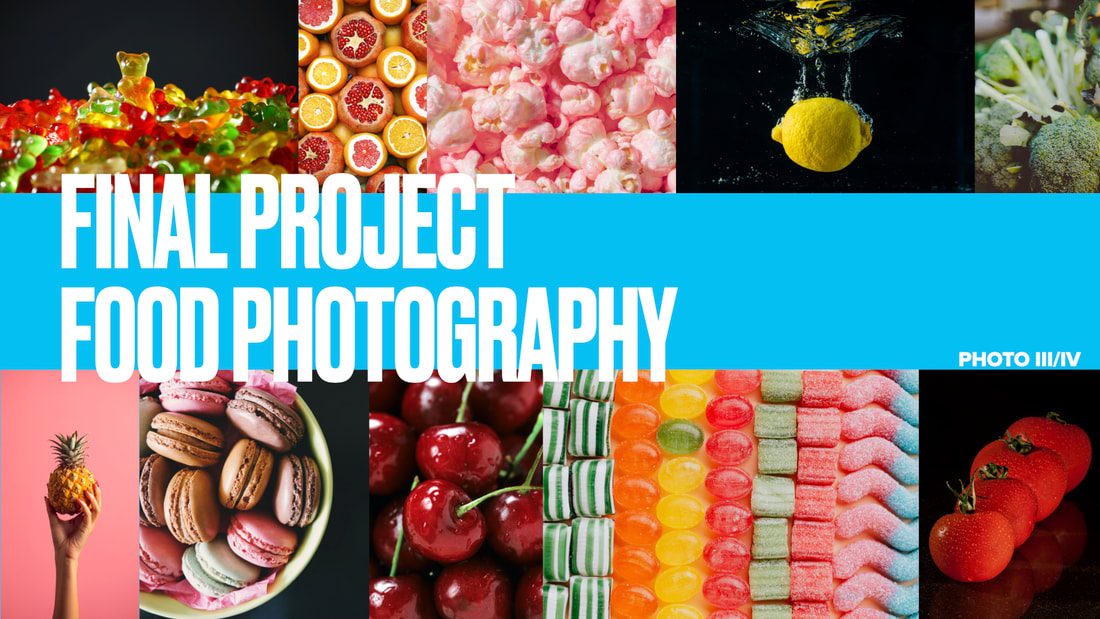
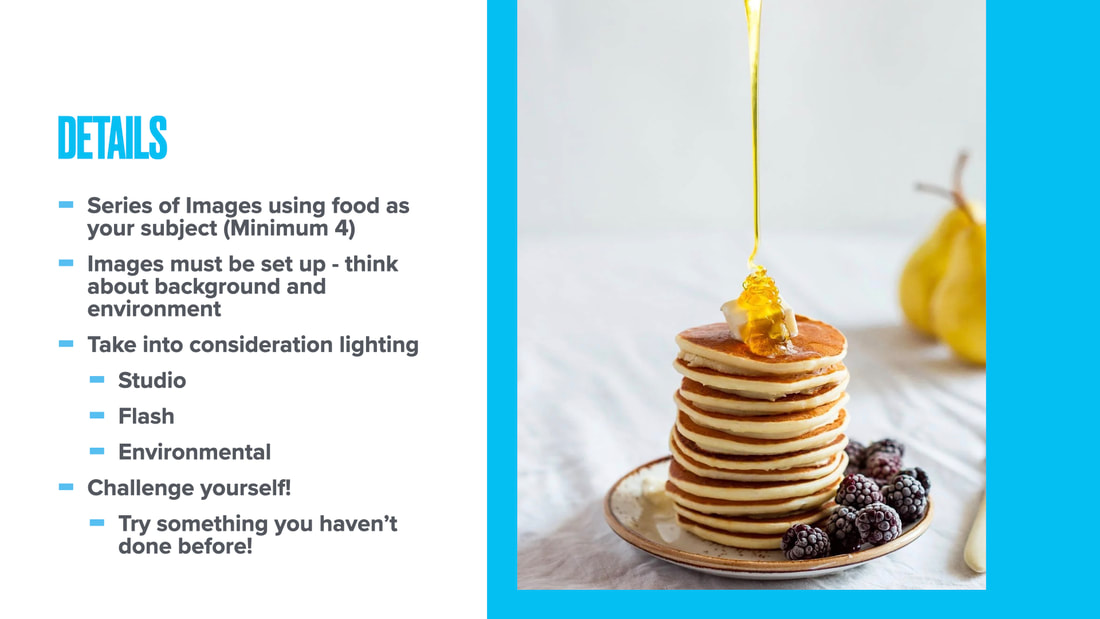
PROJECT #11 - Food